Design and Customization
Customize your booth microsite
Prepare your brand assets and copy, then edit the screens guests see before and after capture.
On this page
Open your experience and choose Microsite. The editor shows your settings beside a draft preview. Work through the sections below; the sections available depend on your experience type.
Prepare your assets and copy
Gather your approved logo, background, brand colors, welcome text, disclaimer, guest fields, and completion message. Add sponsor artwork or headshot-tip images if your product uses them.
Use Asset specs and upload locations to prepare files for the correct upload field. Keep page branding separate from artwork on the finished photo.
Send Snapbar requests for white labeling, AI generation changes, story templates, or quiz/card mapping.
Add your branding
Choose General to set the logo, background, text color, and welcome text. Use a short welcome message that tells guests what to do.
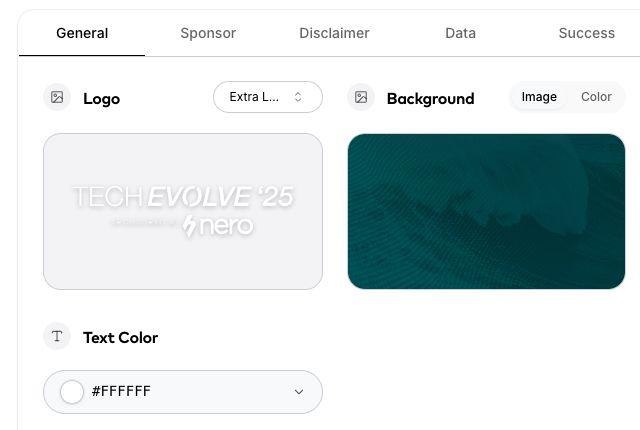
General brings your brand assets and colors together. This example shows a Digital Photo Booth. Use Sponsor for Digital Photo Booth sponsor artwork and Tips for Event Headshots example photos. Use the asset guide to find the correct location for output overlays.
Set up the guest form
Choose Disclaimer to review the legal and privacy text guests see. Use copy approved by your team.
Choose Data to edit the form heading and guest fields. Add only the information you need, and review which fields are required. The preview shows the guest form.
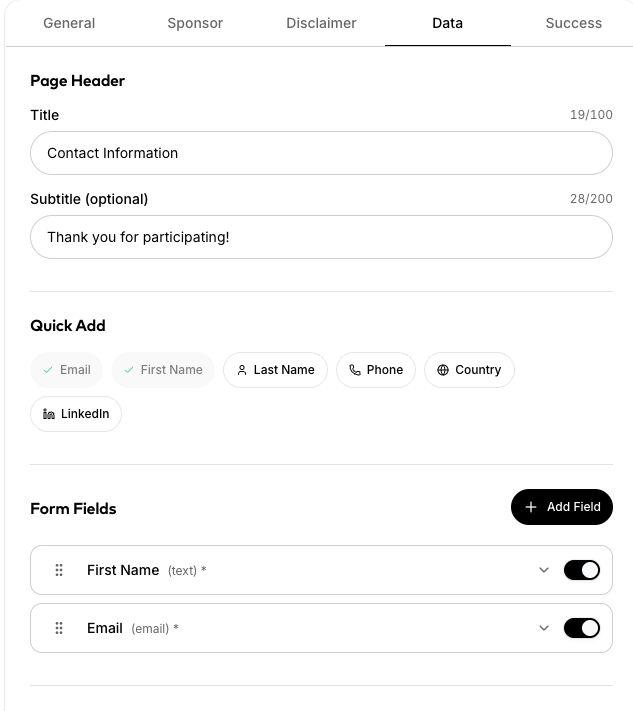
Quick Add inserts common fields. Review each field and its required setting before launch.
Write the completion message
Choose Success. Write a title and message that confirm the guest is finished and explain where their result will arrive.
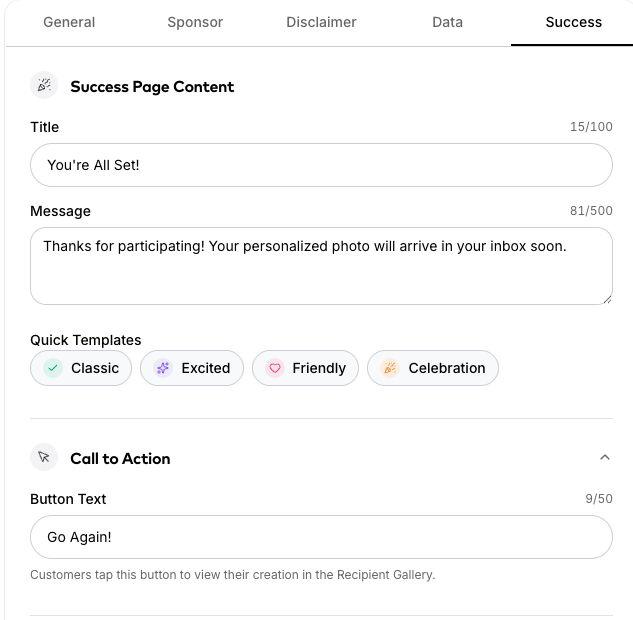
Success controls the confirmation message and the next button guests see after submitting. Review the Call to Action button text so guests understand what the next button does.
Preview, save, and test
Use the desktop and mobile preview controls to check the screens your guests will use. Review text, logo placement, and the form.
Save your changes, then publish or request launch when the experience is ready. The draft preview alone does not confirm what guests see on the live site.
Open the live booth and complete a test submission. Check the result email and the personal result page it opens.
What to know
- Output artwork has a different homeFor AI Photo Booth, AI Video, and Event Headshots, use the style cards in Experience for previews and overlays. AI Stories, Persona Quiz, and Trading Cards use Microsite > Overlays when styles are configured. Digital Photo Booth uses Experience for frames, backgrounds, and stickers.
Tips
- Keep event instructions short and place them on the screen where guests need them.