Live Event Setup
Set up and run your onsite booth
Prepare the guest device, test at the venue, and give staff a clear event-day checklist.
On this page
Use a separate staff device for the dashboard. The tablet, laptop, kiosk, or phone guests use only needs the public microsite, power, and a reliable connection.
Open the booth on your guest device
On your staff device, open the experience. Select View Site (or Open Experience) to check the live microsite.
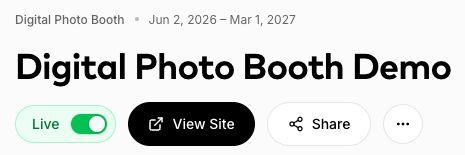
View Site opens the public microsite. Share gives you the link and QR code for other devices. Select Share and open the Link tab. Copy the Microsite URL to the guest device and open it in a supported, up-to-date browser.
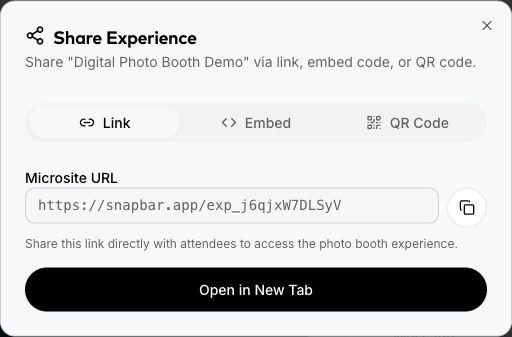
Copy the Microsite URL from your own experience to the guest device. Alternatively, open QR Code and scan it with the guest device. Download the QR code from your own experience if you need signage.
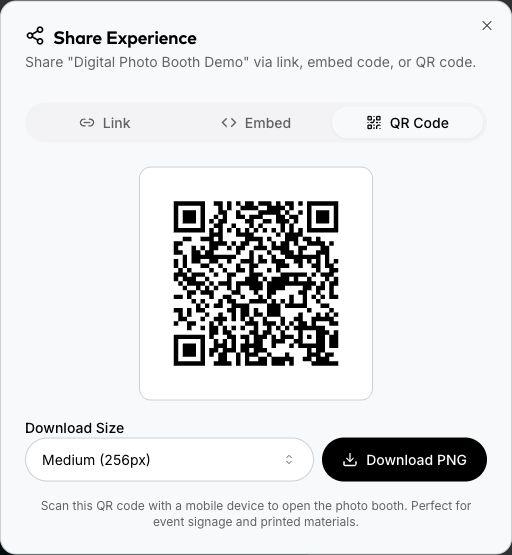
Example only: download the QR code from your own experience for event signage.
Test the actual event setup
Plug the device into power and connect it to the venue network. Complete any network sign-in before testing.
Close other apps or tabs using the camera. Allow camera access when the booth asks, and position the camera at eye level with even lighting.
Complete a full test capture in the orientation guests will use. Include consent and lead capture if enabled, then check the result email, recipient gallery, and any event display.
Get ready for guests
After testing, enable Guided Access, kiosk mode, or full-screen mode on the guest device. Keep the dashboard on the separate staff device.
Retest after any change to the browser, network, device management, or firewall. Keep a backup device and charger nearby.
Assign event-day responsibilities
Assign an owner for the guest device, power, network, and queue.
Choose who monitors submissions, lead capture, and delivery, and who moderates public screens. One person can cover several jobs at a small event.
Confirm who can publish last-minute changes. Give staff the booth and display links, event schedule, support contact, and kiosk unlock instructions.
When reporting a problem, include the experience URL, device, browser, network, test time, and error or screenshot. Send guest-identifying details only through your approved support channel.
What to know
- Under Construction or old content?Check that the experience is live and your latest changes have been published.
- Locked-down venue networks need extra lead time.Send this list to venue IT before event day. Allow HTTPS traffic to the exact hosts below, including uploads and WebSocket connections where the network policy treats them separately.
- dashboard.snapbar.com: required on guest and staff devices. The booth uses this backend to start sessions, submit photos, and check results; it also hosts the dashboard and Help Center.
- snapbar.app: the guest-facing booth microsite and QR participation flow.
- display.snapbar.com: public galleries, slideshows, displays, and recipient result pages.
- res.cloudinary.com: photo and video delivery. Blocking it prevents results and branded assets from loading.
- api.cloudinary.com: photo and video uploads from booth and guest upload devices. Allowing the media delivery host alone is not enough.
- rytunuljetohylthljse.supabase.co: Snapbar application services, including realtime connections. For restricted venue networks, allow HTTPS and secure WebSocket connections on port 443.
- Event-specific assets: ask Snapbar to confirm the exact extra hosts used by your event, including any onsnapshot.ai image hosts. Do not add a blanket wildcard solely because a host is supported by the software.
- Optional appearance: fonts.googleapis.com and fonts.gstatic.com load Google Fonts when the event uses them.
- Email filtering, separately: notifications@snapbar.com is the default result sender. Confirm the sender for your event if a custom configuration is in use.
- Browser error reports use the app hosts above. A separate blanket Sentry domain exception is not part of this venue list.
Tips
- Use the actual event network for the final test. Only test on a hotspot if that is the connection you will use.
- Disable distracting translation prompts and other browser overlays before handing the device to guests.